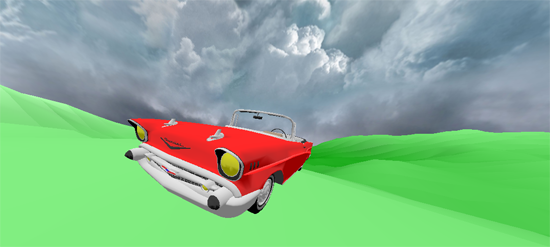
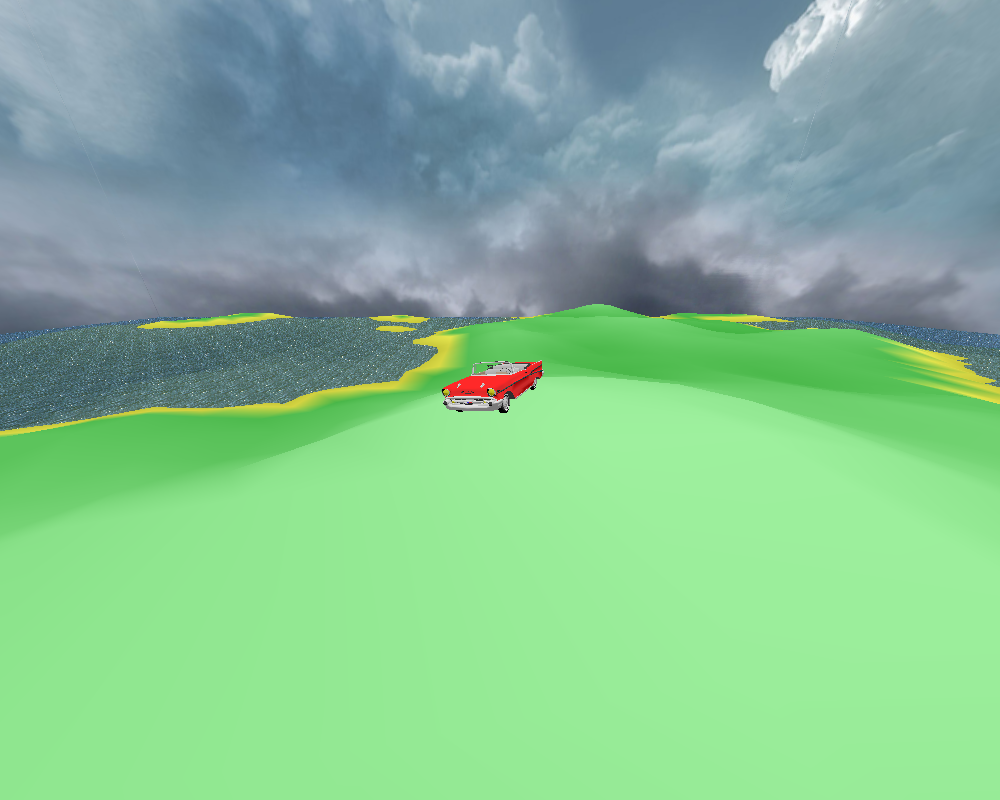
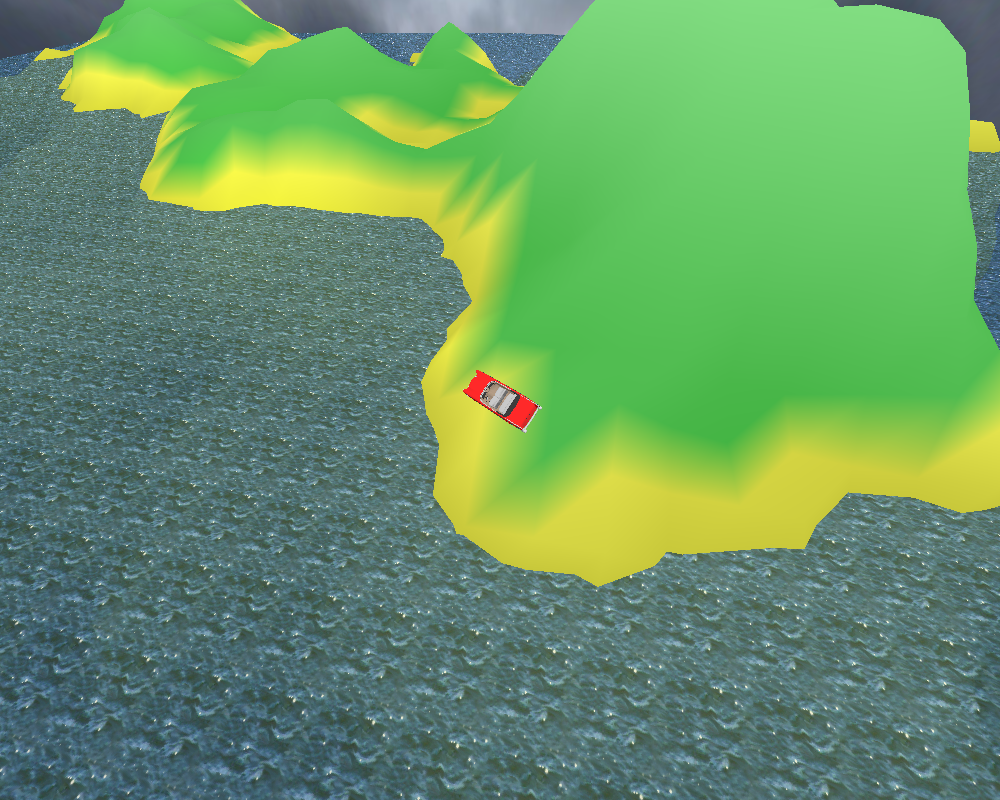
My project models a car moving over uneven terrain, with water below a certain elevation. For simplicity I'm assuming our car is very heavy, meaning it won't fly through the air if it goes up a hill really fast, but it will fall downwards when it drives of the edge of the terrain.
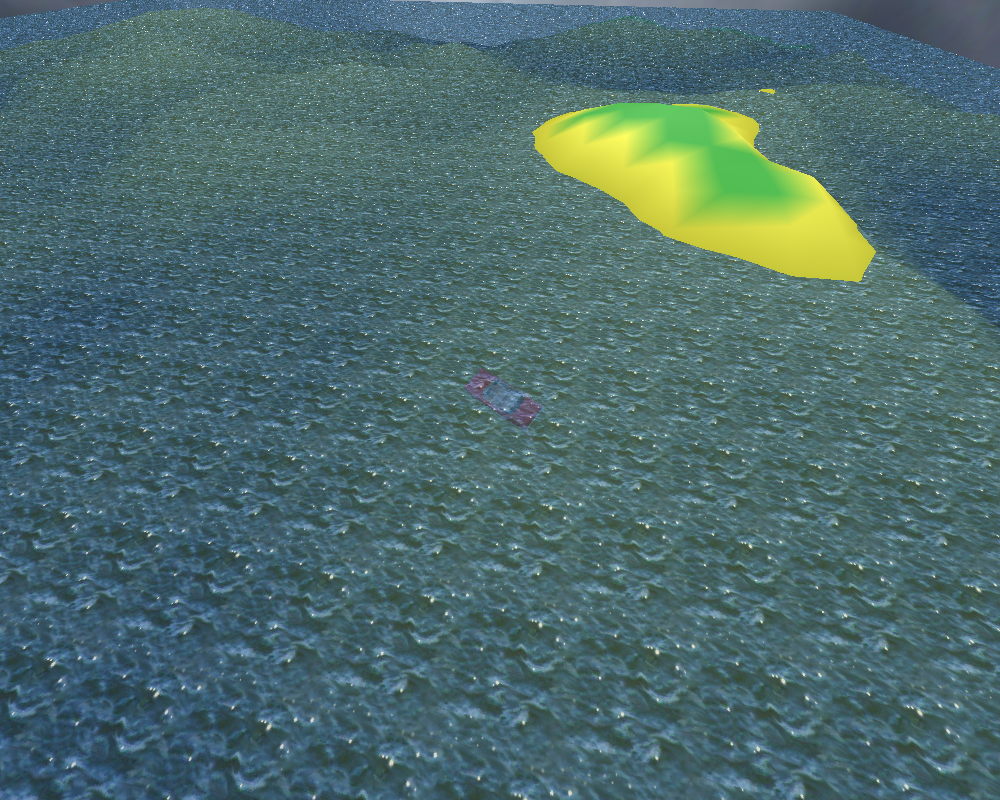
I'll keep track of the terrain by storing a y value for each point in a grid across the xz plane. I'll read in a grayscale image (Fig 1) where lighter pixels correspond to high points in our terrain, and darker pixels correspond to lower points in our terrain. We plan to do this in a similar way to:
here


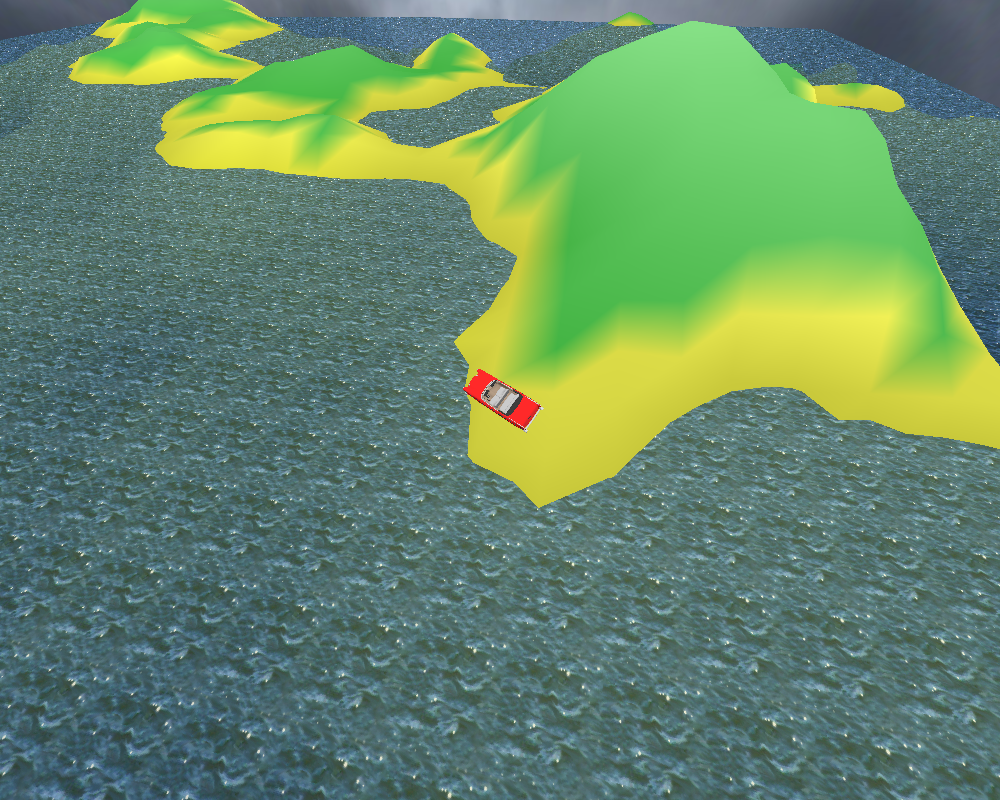
The car be controlled with the wasd and x keys.
| w | will acceleate the car forwards. | ||
| a | will steer the car to the left. | ||
| d | will steer the car to the right. | ||
| s | will apply breaks. | ||
| x | will accelerate the car backwards. |
| g | toggles displaying the glass in the windshield. | |
| c | toggles displaying the chasis of the car. | |
| n | toggles displaying surface normals for the landscape. | |
| t | toggles displaying axis for the heights the program has chosen for each tire. | |
| i | toggles displaying a set of axis for each moving part of the car. | |
| k | toggles displaying the cars up vector in blue, x and z axis in white and grey, and a the vector the car rotates around to match the terrain underneath it in red. | |
| . | toggles free form deformations on the car to make it shape itself to the land underneath it. | |
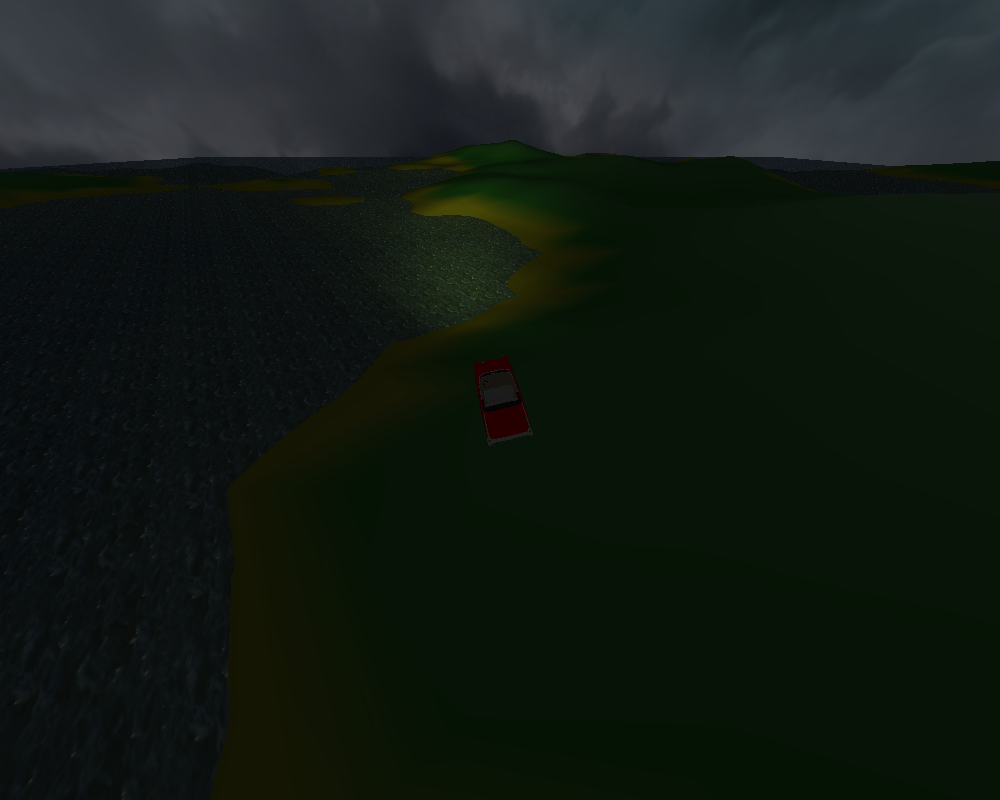
| g | toggles night and day. | |
| t | toggles the headlights. | |
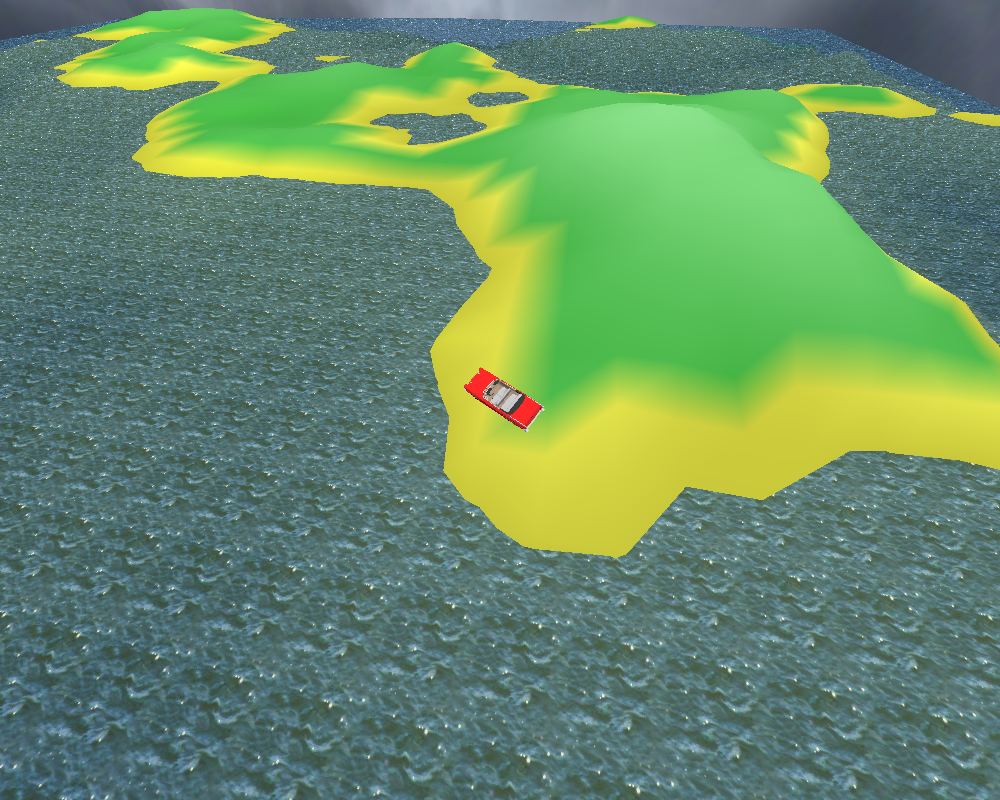
| y | raises the water level. | |
| h | lowers the water level. | |
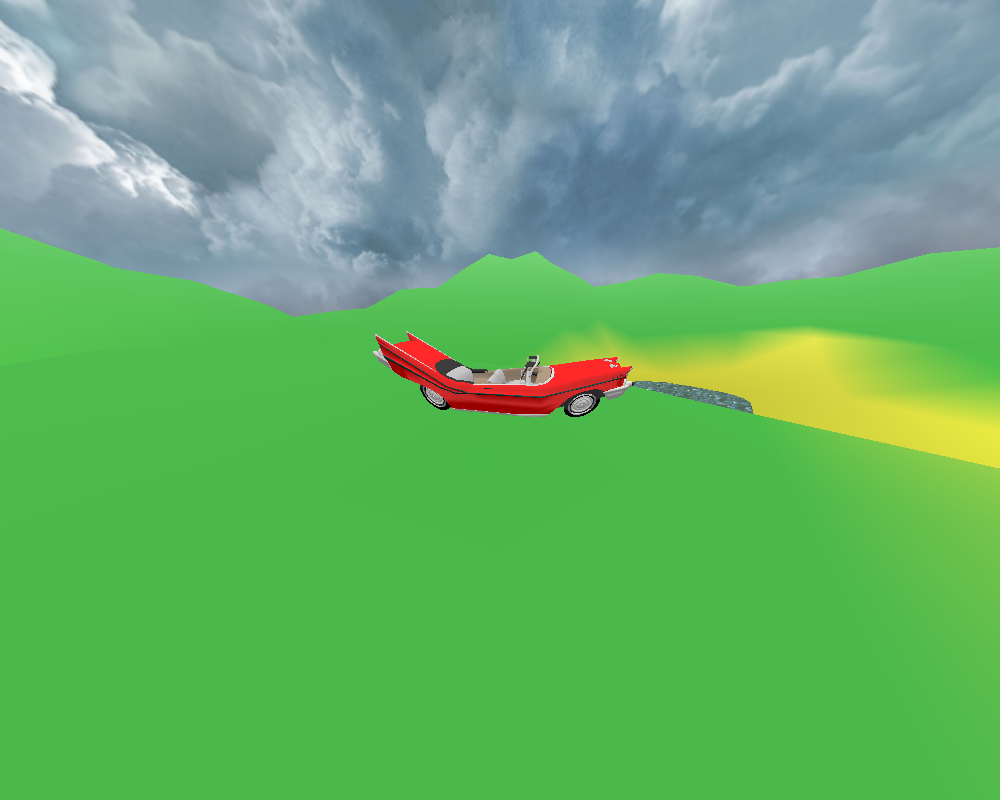
| u | demonstrates forward water spray from the car's position. | |
| r | resets the car and camera to their original position. | |
| 0-9 | numbers 1-9 adjusts the intensity of the hills. 1 being normal and 9 being ridiculous, 0 is flat. |
| Right Click and Drag | Moves the camera up and down. | |
| Left Click and Drag | Moves the camera in a circle around the car. | |
| Middle Click and Drag | Moves the camera towards or away from the car. |
The terrain is a series of connected triangles, and I know the hight of the corner of every triangle
Each moment I want to draw the car I'll know it's xz posisiton, and it's yaw (rotaion in the xz plane). From this I can calculate the xz position of the center of each of the cars wheels.
For each wheel I'll figure out which triangle each wheel is above.
All wheels have a radius of R.
Initially I'll choose a z position for each wheel that is R above the hight of the land below it.
Once I have a minimum height for each of the wheels, I'll have to choose
one wheel to move along its z axis, because the car's chasis doesn't bend to
accommodate the ground. I'll find find a wheel we can move up to match the
other three wheels, because if I moved a wheel down it would overlap with the terrain.
If two opposite wheels can both be moved up, I'll move each wheel halfway up,
this causes the car to move more smoothly.
Water ripples are done with area sampling.
This site descibed
how to use area sampling to simulate water ripples.
The basic idea is that you decide what the hight of one part of the water's heightmap should be based on all of it's neighbors, and it's own height the frame before. Which gives you an equation something like:
(formlula taken from http://www.gamedev.net)
"ResultMap[x, y] := (( CurrentSourceMap[x+1, y] +
CurrentSourceMap[x-1, y] +
CurrentSourceMap[x, y+1] +
CurrentSourceMap[x, y-1] ) DIV 2 ) -
PreviousResultMap[x, y] "
I adjusted this slightly, since when a part of the water heightmap is next to land, it deosn't necesarily have 4 neighbors.
if at(x+1, y) the land is under the water level then ResultMap[x, y] += CurrentSourceMap[x+1, y] / 2
if at(x-1, y) the land is under the water level then ResultMap[x, y] += CurrentSourceMap[x-1, y] / 2
if at(x, y+1) the land is under the water level then ResultMap[x, y] += CurrentSourceMap[x, y+1] / 2
if at(x, y-1) the land is under the water level then ResultMap[x, y] += CurrentSourceMap[x, y-1] / 2
let neighbors = the number (0-4) of points bordering this point where the land was under the water level
Resultsmap[x, y] -= Previous Results Map[x, y]*(neighbors/4)*(neighbors/4)
Resultsmap[x, y] *= 1 / (div*2 - div*div)
This equation has the same effect for portions of the heightmap that are next to land.
Conceptually the previous height of the current point is subtracted, because if the current point
was above the average water level then water will have moved to neighboring points. If the
current point was below the average water level, then water should have rushed in from neighboring points.
If the current point is next to land, then the current points previous height should have less impact, there are less neighbors
to help equalize it's own height, so it's weight is the number of neighbors divided by 4 and then squared. As it has fewer neighbors, the
point's past height has less and less impact.
Finally overtime, as the ripple spreads, the amplitude of the ripple should diminish. So the amplitude is dampened.
ResultsMap[x, y] += (averageWaterLevel - ResultsMap[x, y])/32
I originally did Free Form Deformations with tri-cubic Bezier splines. I made sure by box of controll points rested on the
surface of the land, but I realized the car would often overlap with the land. Bezier did not guarantee that the deformed
car would be contained within the box of controll points. So I used a simpler method. For each point I found the four nearest controll points,
then each of those points were given a weight based on the inverse of their distance to my original point. This is less mathmatically
elegant, but always placed each point of the car inside of the box of deformed control points.
When the camera goes underwater, everything is tinted blue. To accomplish this I simply drew a transparent blue sphere around the cameras
position.
We used code from http://www.videotutorialsrock.com/opengl_tutorial/terrain/text.php to load *.bmp files into our project for textures and the heightmap.
Our car came from the coord and poly files from the repository of 3D images.
For the skybox, we found some useful stuff on this site. The actual skybox texture came from this picture.
For free form deformation I used code from our project 4, where we used these references:
http://users.soe.ucsc.edu/~pang/161/w10/misc/barr.pdf
http://users.soe.ucsc.edu/~pang/161/w10/misc/3dffd.pdf
For the basics of render ripples I used http://www.gamedev.net/reference/articles/article915.asp
For headlights and tail lights I used this reference on directional spotlights in opengl
http://jerome.jouvie.free.fr/OpenGl/Tutorials/Tutorial13.php