Forward Kinematics and Shadows
Diego Villafana (dvillafa@ucsc.edu)
![]()
![]()
 .
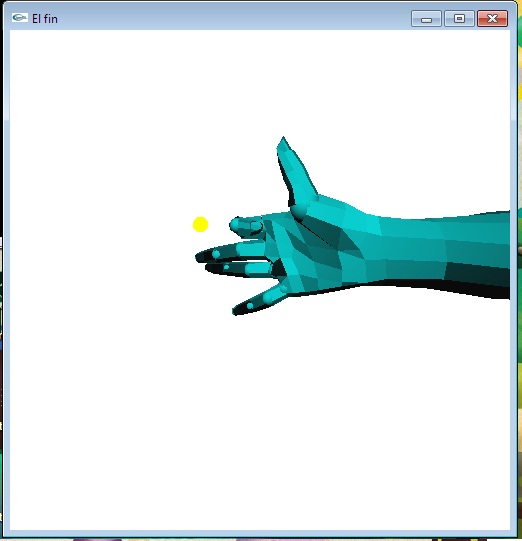
. I plan on creating a hand made from polygons that will be animated.
Initially waving  and then make a shadow
puppet of a dog on the wall. In the end I ran out of time and couldn't add the
autonomous animation. So I manually posed each finger to form the shape of a dog, placed
lighting correctly and for the shadow I simply scaled the same model with 0 in the y axis
and translated it to the back of the scene. Which to my surprise looked better than I could
expect. For this I needed to be able to rotate the pinky, ring, and middle finger not only
in the x axis but also in the z. Eventually after careful positoning I simulated a dog puppet
shadow barking. As seen in the example video earlier.