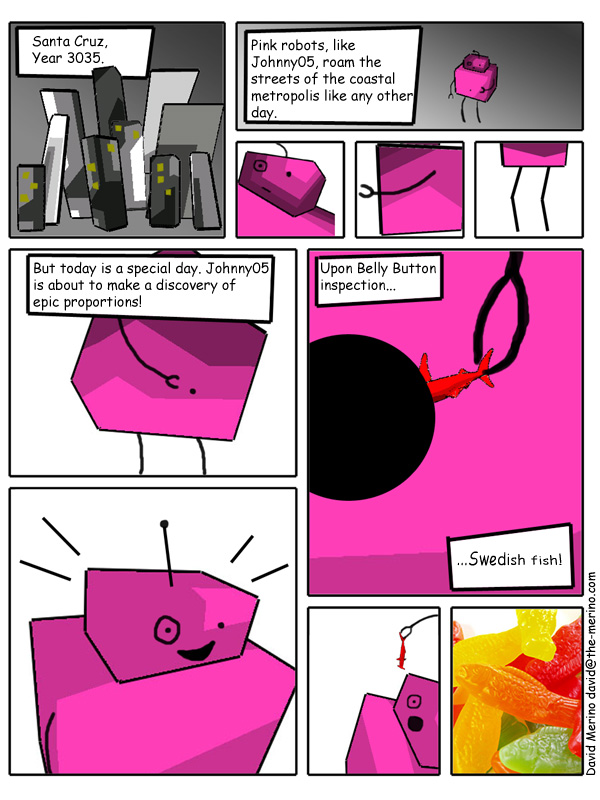
Figure 1. The greatest comic EVER!
Figure 1. The greatest comic EVER!
INTRODUCTION: The purpose of this project is to explore the use of 3D rendering for use in comics. Specifically the use of Cell Shading to create a "cartoon" look that will be appropriate for a comic strip. This program uses a texture based cell shading algorithm to create the cartoon look. The program is done completely in OpenGL. All of the lighting is done by the cell shading algorithm. The program accepts coor/poly files for the models. In addition to Cell Shading, the program allows the user to apply some deformations to the object. There are 3 different deformations: skew x, skew y, and enlarge z.
In addition to the program itself, I went thru the process of creating an actual comic strip. I wanted to see the validity of this program, and its total effectiveness. This meant that I had to create a narrative. I decided to go with a story about a Pink Robot named Johnny05 (I love Short Circuit). The story takes place more than a hundered years in the future, when these Pink Robots roam the earth. The next step was to create a simple story board (see Figure 2 ). From the story board, I went to my program, where I created various renderings of the robot, city and shark. I then created a composite image in Photoshop that incorporated these various renderings in a comic style. I drew the limbs and facial expresions onto the robot, aswell as the windows on the building (see final result Figure 1).
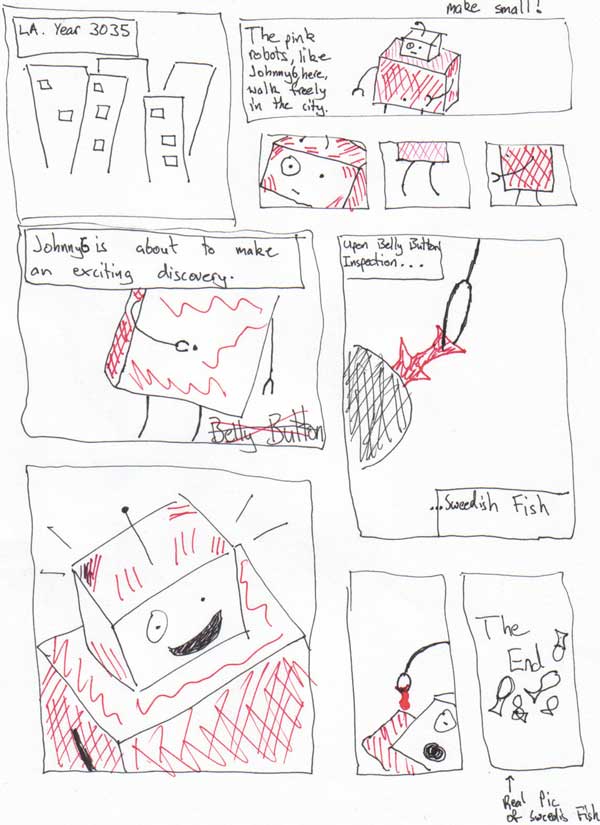
Figure 2. The story board.
Algorithm: The skeleton for the project came from a previous assignment that I did, where I just loaded in the coor/poly files and applied generic OpenGL lighting. In the Cell Shading program I had to disable the lighting and create my own. The Cell Shading algorithm used is a texture based one. This means that a grey scale texture is applied over the object to create the look of Cell Shading. The textures are 32 pixels wide. I load the textures by opening a ".shad" file which contains 32 lines, each with a float between 0 and 1 to represent that grey value. The general form of the texture files looks like this:
0.2
0.2
0.2
0.2 0.5 0.5 0.5 0.5 0.5 1.0 1.0 etc...
So these files become textures. I then create a light angle which can be controlled by the user. This light angle is normalized and then saved. Now the only trick for shading these polygons is to compute the Dot Product between the vertex normal and the light. This value is actually your texture value (It is never over 1.0), and if it is negative then I clamped the texture value to 0. So all you need for the cell shading is a light direction, a 2d greyscale texture, and a model to apply it to.
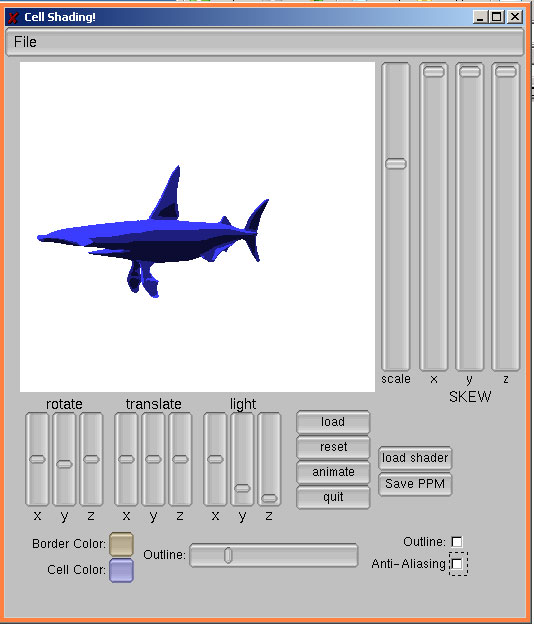
Figure 3. The famous Shark model with cell shading.
Along with the Cell Shading is the outline of the model. This is all done with the help of some OpenGL commands. First you must enable GL_BLEND and set the blending mode. Then you want to change the polygon mode to draw backfacing polygons as wireframes only. Then make sure OpenGL doesn't draw and front facing polygons by using glCullFace(GL_FRONT). Now only back facing polygons will be drawn with the boarder, and this is what we want because the border lines should only appear where the polygons are changing from front facing to back facing. This covers the Cell Shading and Border drawing algorithm. CLICK FOR ANIMATION.
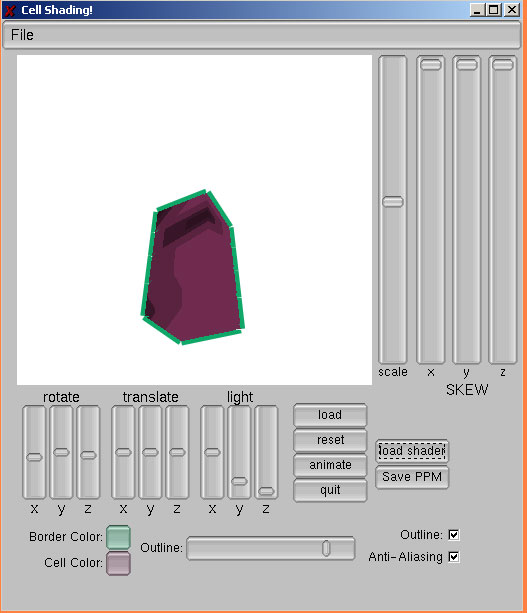
Figure 4. Notice the outline around the box. You can change the width and anti-aliasing of the outline.
The other aspect of this program was the deformations for the buildings. The user can specify a skew amount for positive x,y,z. The amount of skew for a vertex is designated by the Z value at that vertex (high Z value = greater skew). So the program paramatizes the Z value between the min and max Z values and multiplies that by the SKEW amount set by the user. Thus, if the skew value is 10, the lowest Z value will get skewed 0, the highest will get skewed 10, and a vertex between the min and max would have a skew value of around 5. This simple deformation actually produced a lot of interesting shapes when coupled with rotations and cell shading.
Use: To compile the program, type "make". Once this is done type "final" to start the program. Next you must load a coor/poly file by clicking the load button and selecting your model. The model will then render and you can rotate/translate/scale. You can also skew the model using the SKEW sliders. To change the cell shading color simply click the "cell color" button and select a new color (same goes for the border color). You can change the outline width by moving the "outline" slider. The toggle buttons will turn off their respective attributes, so you can turn off/on outlines and anti-aliasing (for performance v. quality). To load in a new texture file click the "load shader" button. The shader files are 32 lines long with 1 float (ranging 0 to 1) on each line. These shading files are the texture maps for cell shading. Clicking the "Save PPM" button will save a ppm screen shot of the rendering and put it into the current directory (used for making movies). Clicking animate will rotate the model about the Z axis.
Results: The result was quite successful. An artsitically challenged illustrator like myself can use this program to create clean images that can be used to make fun cartoons. The resulting comic that I made turned out much better than I thought it could have. The creation process was pretty fast too, and ofcourse, since all of the images are digital, they can be reused. So if a user finds a pose that they like, they can save it for whenever they need it, instead of having to redraw it. I used very simple models for my cartoon, but with more complex models you can get some very smooth images (see Figure 3).
Comments: Thanks to nehe.gamedev.net I was able to get a very good start on this program. They had a good tutorial for doing cell shading. I really enjoyed this program because of its real applications. I just have a general interest in art and story telling and this was a great opportunity to incorperate that into computer science (or rather, to use my computer science skills to create art). A tool like Photoshop really helps when you need to composite the image. It is also helpful for drawing facial expressions and other small things that add character to digital models. Sometimes you can get a picture that just feels too digital. That is the main reason I decided to add in the arms/legs/face by hand.
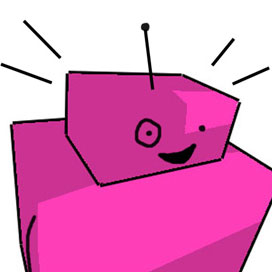
Figure 5. J5 in his element.